|
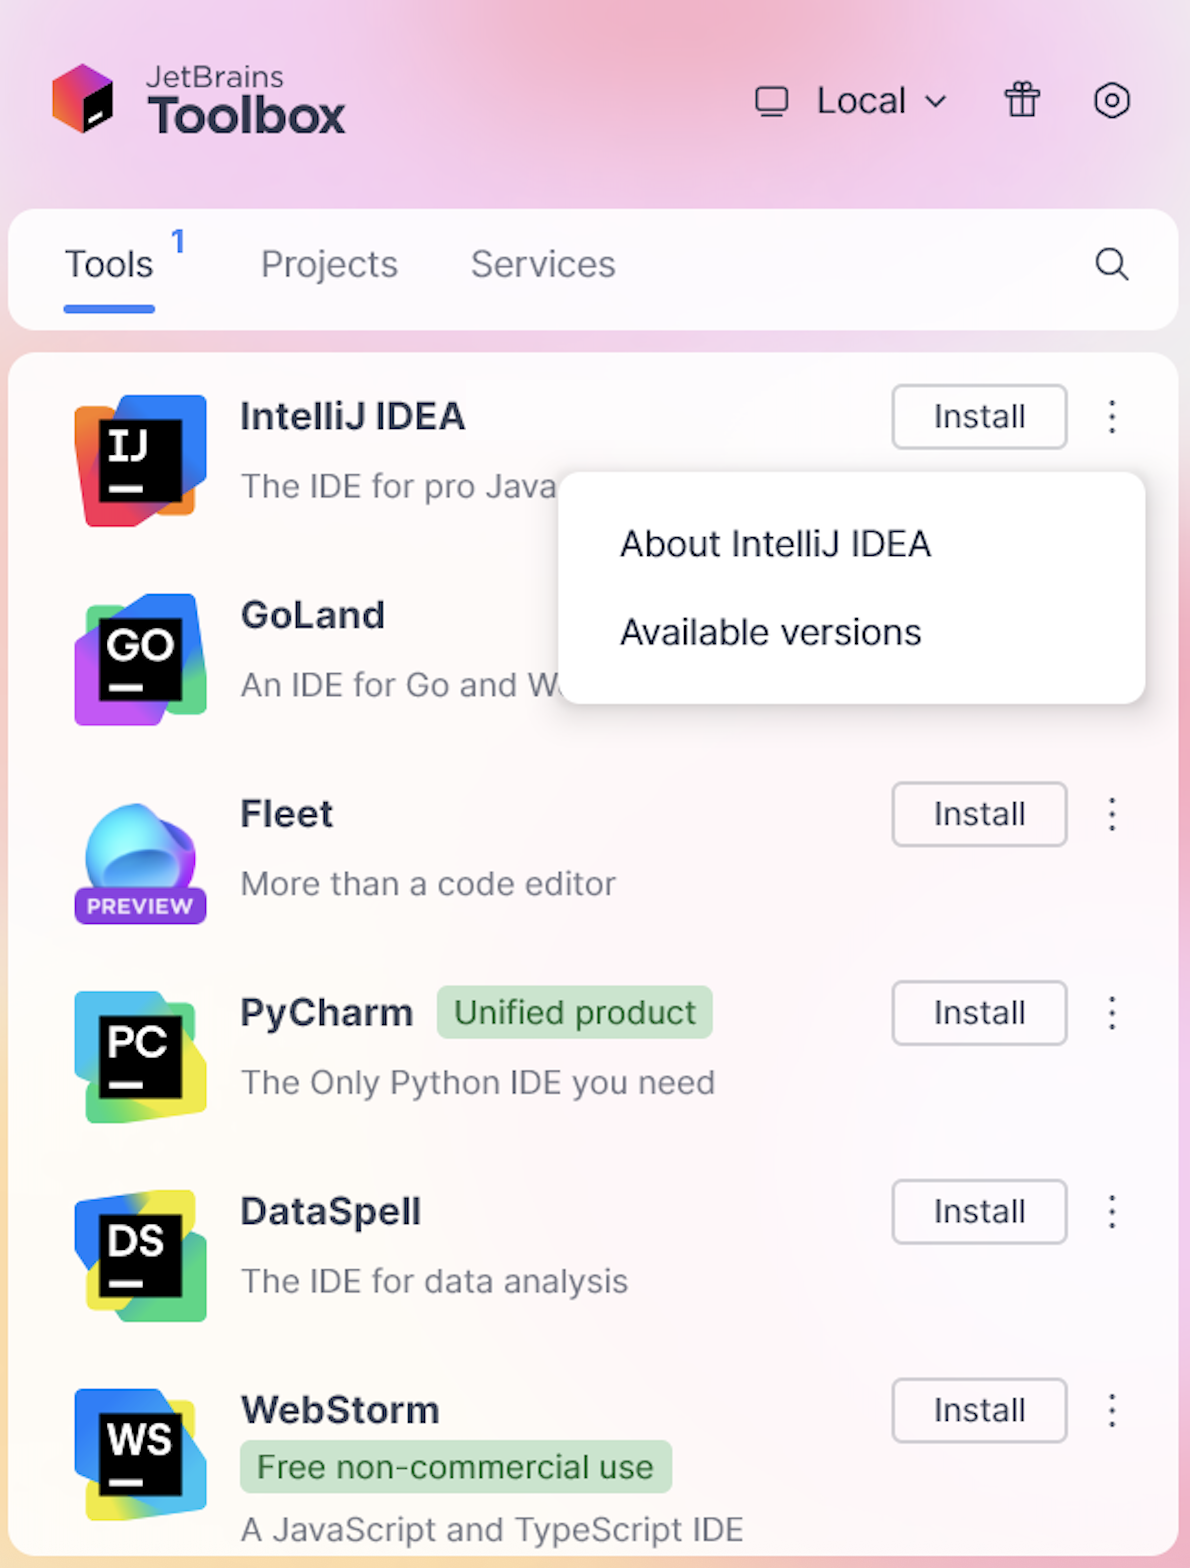
PyCharm is a cross-platform IDE that provides a consistent experience on Windows, macOS, and Linux. PyCharm is now available as a unified single product. What changes have been made: The Community Edition is now part of the unified PyCharm product: PyCharm's core features remain free and open-source. Jupyter support is now included in the core functionality. You can upgrade to PyCharm Community 2025.2 as usual, with no immediate changes required on your part. When you install PyCharm, you will automatically receive a 30-day free Pro trial, granting you full access to PyCharm’s advanced features. After the trial ends, you will have the following options: Get a Pro subscription to continue using advanced functionality. Keep using PyCharm’s core features for free. If you are already using PyCharm Professional, you will retain full access to all Pro features with your existing license—no changes are required. For more information, refer to Unified PyCharm overview. System requirementsRequirement Minimum Recommended RAM 2 GB of free RAM 8 GB of total system RAM CPU Any modern CPU Multi-core CPU. PyCharm supports multithreading for different operations and processes making it faster the more CPU cores it can use. Disk space 3.5 GB SSD drive with at least 5 GB of free space Monitor resolution 1024×768 1920×1080 Operating system Officially released versions of the following: Pre-release versions are not supported. The latest versions of the following: Windows 64-bit macOS Ubuntu LTS or Fedora Linux distribution You do not need to install Java to run PyCharm because JetBrains Runtime is bundled with the IDE (based on JBR 21). PyCharm supports the following versions of Python: Python 2: version 2.7 Python 3: from the version 3.9 up to the version 3.15 Install using the Toolbox AppThe JetBrains Toolbox App is the recommended tool to install JetBrains products. Use it to install and manage different products or several versions of the same product, including Early Access Program (EAP) releases, update and roll back when necessary, and easily remove any tool. The Toolbox App maintains a list of all your projects to quickly open any project in the right IDE and version. Install the Toolbox App Download the installer .exe from the Toolbox App web page. Run the installer and follow the wizard steps. After you run the Toolbox App, click its icon
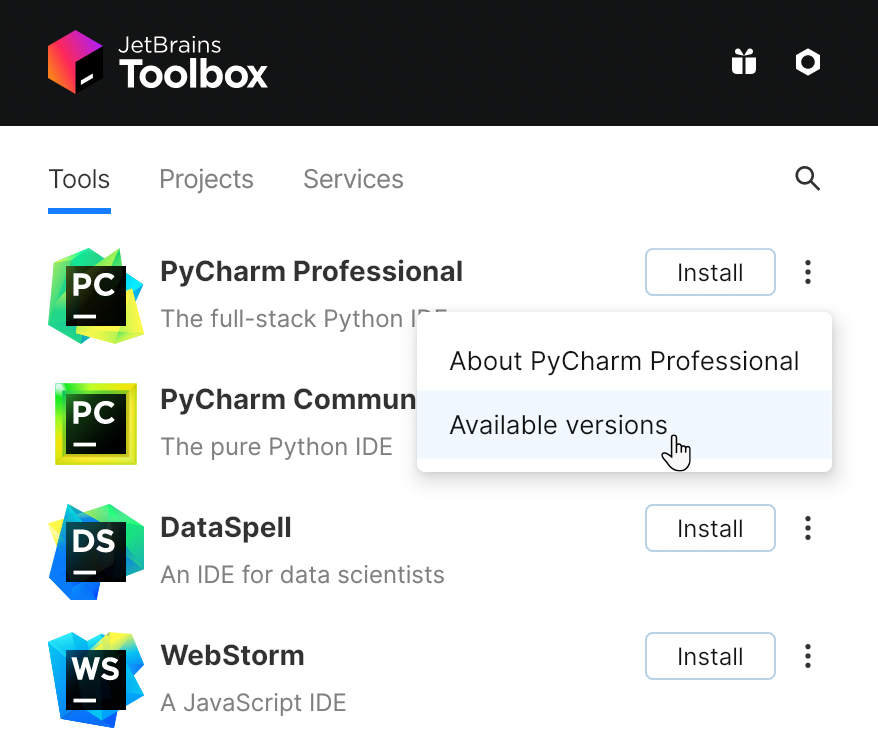
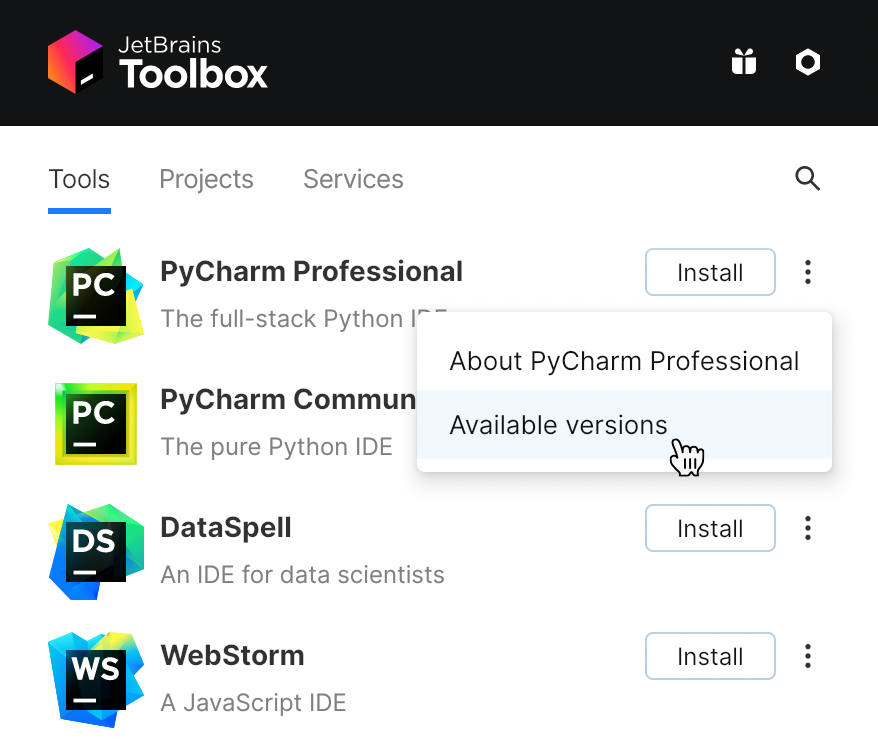
To install a specific version, click
Log in to your JetBrains Account from the Toolbox App, and it will automatically activate the available licenses for any IDE that you install. Install the Toolbox App Download the disk image .dmg from the Toolbox App web page. There are separate disk images for Intel and Apple Silicon processors. Mount the image and drag the JetBrains Toolbox app to the Applications folder. After you run the Toolbox App, click its icon in the main menu and select which product you want to install. To install a specific version, click
Log in to your JetBrains Account from the Toolbox App, and it will automatically activate the available licenses for any IDE that you install. Install the Toolbox App For the Toolbox App version 2.6.2 and earlier, the following applies: The Toolbox App is packaged in AppImage and requires FUSE to run. If your distribution doesn't use the libfuse2 package, install it by running the following command: sudo apt install libfuse2 x86_64: glibc 2.17 (Ubuntu 18.04 or higher) arm64: glibc 2.29 (Ubuntu 20.04 or higher) The following packages must be present: libxi6 libxrender1 libxtst6 mesa-utils libfontconfig libgtk-3-bin Download the tarball .tar.gz from the Toolbox App web page. Extract the tarball and launch the executable: tar -xzf jetbrains-toolbox-<build>.tar.gz && cd jetbrains-toolbox-<build>/bin && ./jetbrains-toolbox The Toolbox App will install itself into $HOME/.local/share/JetBrains/Toolbox/bin and run from there. After you run the Toolbox App for the first time, it will automatically add the Toolbox App icon
Select the product that you want to install. To install a specific version, click
Log in to your JetBrains Account from the Toolbox App, and it will automatically activate the available licenses for any IDE that you install. If you installed PyCharm via the Toolbox App, you can find the installation directory in the app: open the settings of the IDE instance in the Toolbox App, expand Configuration, and look for the Install location field. Standalone installationInstall PyCharm manually to manage the location of every instance and all the configuration files. For example, if you have a policy that requires specific install locations. Download the installer .exe. There is a separate installer for ARM64 processors. To verify the integrity of the installer, use the SHA checksum linked from the Download page. Run the installer and follow the wizard steps. Mind the following options in the installation wizard 64-bit launcher: Adds a launching icon to the Desktop. Open Folder as Project: Adds an option to the folder context menu that will allow opening the selected directory as a PyCharm project. .py: Establishes an association with Python files to open them in PyCharm. Add launchers dir to the PATH: Allows running this PyCharm instance from the Console without specifying the path to it. To run PyCharm, find it in the Windows Start menu or use the desktop shortcut. You can also run the launcher batch script or executable in the installation directory under bin. Download the disk image. There are separate disk images for Intel and Apple Silicon processors. To verify the integrity of the downloaded disk image, use the SHA checksum linked from the Download page. Mount the image and drag the PyCharm app to the Applications folder. Run the PyCharm app from the Applications directory, Launchpad, or Spotlight. Install using tar archives Download the tarball There is a separate tarball for ARM64 processors. Unpack the pycharm-*.tar.gz file to a different folder, if your current Download folder doesn't support file execution: tar xzf pycharm-*.tar.gz -C <new_archive_folder> The recommended installation location according to the filesystem hierarchy standard (FHS) is /opt. To install PyCharm into this directory, enter the following command: sudo tar xzf pycharm-*.tar.gz -C /opt/ To verify integrity of the downloaded archive, use the SHA checksum linked from the Download page. Switch to the bin subdirectory: cd <new archive folder>/pycharm-*/bin For example, cd /opt/pycharm-2022.2.4/bin Run pycharm from the bin subdirectory. ./pycharm Create a desktop entryIn the main menu, go to Tools | Create Desktop Entry. The following steps are for Ubuntu 23.10. If you are using a different Linux distribution or version of Ubuntu, refer to its documentation. Click Activities in the top-left corner of the screen. Click the grid button in the dash to show all applications. To pin the app to the dash, right-click the PyCharm icon and select Add to Favorites. When you run PyCharm for the first time, you can take several steps to complete the installation, customize your instance, and start working with the IDE. For more information, refer to Run PyCharm for the first time. For more information about the location of the default IDE directories with user-specific files, refer to Directories used by the IDE. Silent installation on WindowsSilent installation is performed without any user interface. It can be used by network administrators to install PyCharm on a number of machines and avoid interrupting other users. When performing a silent installation or managing PyCharm installations on multiple machines, you can set the JETBRAINS_LICENSE_SERVER environment variable to point to the URL of the Floating License Server or . Alternatively, you can set the URL of the Floating License Server or License Vault by adding the -DJETBRAINS_LICENSE_SERVER . To perform silent install, run the installer with the following switches: /S: Enable silent install /CONFIG: Specify the path to the /D: Specify the path to the installation directory This parameter must be the last in the command line, and it should not contain any quotes even if the path contains blank spaces. /NCRC: Disable the if you want to suppress the Verifying Installer popup. For example: pycharm.exe /S /CONFIG=d:\temp\silent.config /D=d:\IDE\PyCharm To check for issues during the installation process, add the /LOG switch with the log file path and name between the /S and /D parameters. The installer will generate the specified log file. For example: pycharm.exe /S /CONFIG=d:\temp\silent.config /LOG=d:\JetBrains\PyCharm\install.log /D=d:\IDE\PyCharm Silent configuration fileYou can download the silent configuration files for PyCharm at https://download.jetbrains.com/python/silent.config. The silent configuration file defines the options for installing PyCharm. With the default options, silent installation is performed only for the current user: mode=user. If you want to install PyCharm for all users, change the value of the installation mode option to mode=admin and run the installer as an administrator. The default silent configuration file is unique for each JetBrains product. You can modify it to enable or disable various installation options as necessary. It is possible to perform silent installation without the configuration file. In this case, omit the /CONFIG switch and run the installer as an administrator. Without the silent configuration file, the installer will ignore all additional options: it will not create desktop shortcuts, add associations, or update the PATH variable. However, it will still create a shortcut in the Start menu under JetBrains. See more details on installing PyCharm in the video tutorial: Install as a snap package on LinuxPyCharm installed via snap may encounter issues including performance degradation, problems with JavaScript debugging using Chromium (WEB-38511), difficulties importing SBT projects (SCL-17169), and delays in file management operations (IJPL-1234). If you experience these issues, we recommend installing PyCharm via the for a potentially smoother experience. You can install PyCharm as a self-contained snap package. Since snaps update automatically, your PyCharm installation will always be up-to-date. To use snaps, install and run the snapd service as described in the snapd installation guide. On Ubuntu 16.04 LTS and later, this service is pre-installed. PyCharm is distributed via two channels: The stable channel includes only stable versions. To install the latest stable release of PyCharm, run the following command: sudo snap install intellij-idea --classic sudo snap install pycharm-professional --classic sudo snap install pycharm-community --classic The --classic option is required because the PyCharm snap requires full access to the system, like a traditionally packaged application. The edge channel includes EAP builds. To install the latest EAP build of PyCharm, run the following command: sudo snap install intellij-idea --classic --edge sudo snap install pycharm-professional --classic --edge sudo snap install pycharm-community --classic --edge When the snap is installed, you can launch it by running the pycharm-professional or pycharm-community command. To list all installed snaps, run sudo snap list. Install a specific versionTo check the list of available versions, run the following command: snap info intellij-idea snap info <pycharm-professional or·pycharm-community> To install the version you want, run the following command: sudo snap install intellij-idea --channel=2025.3/stable --classic sudo snap install <pycharm-professional or·pycharm-community> --channel=<version>/stable --classic For more information about other snap commands, refer to the Snapcraft documentation. 16 December 2025 Unified PyCharm overviewRun PyCharm for the first time (责任编辑:) |